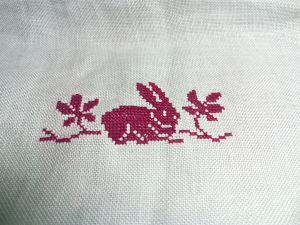
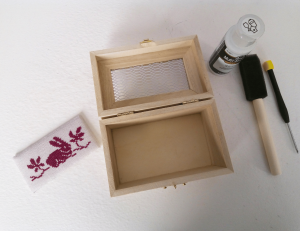
Smoothed out the wrinkles on my cross-stitched piece using a hot iron on high heat and with steam. I don’t have to worry about the colors bleeding because DMC thread and linen were colorfast.2. Measured the opening of the box and cut a mat piece and cotton batting to that size. Fasten the linen to the mat board with pins and thread using a tutorial by Nicola Parkman on YouTube, I found helpful. I’ve done this lots of times before and it looks great!
3. Glued the cross-stitched piece to the top of the wooden box with a hot glue gun after preparing the box. I took off the hardware, painted it with two coats of paint, and applied three coats of finishing wax using foam brushes.
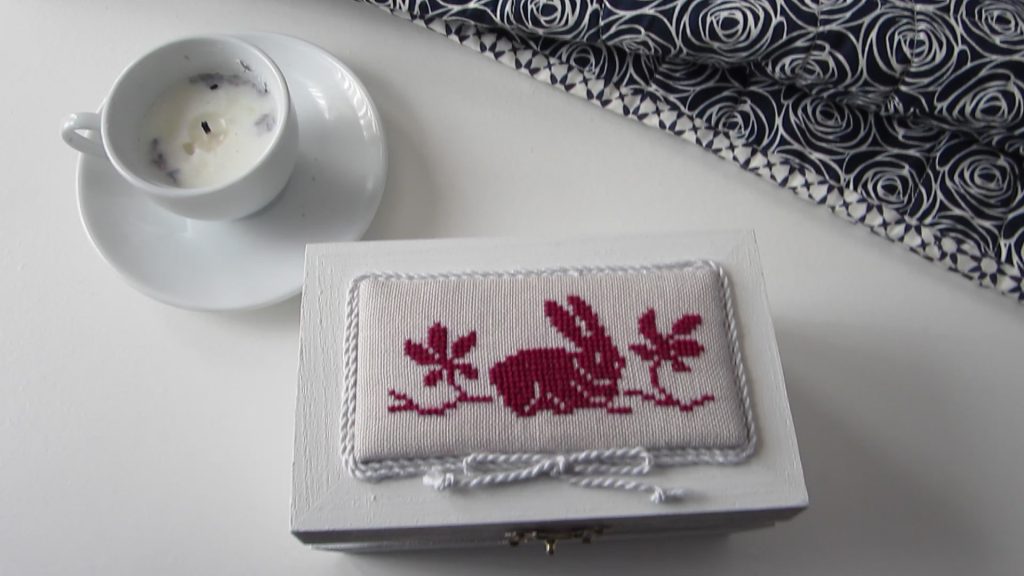
4. Created cording by using a cord maker to ply six layers of embroidery thread together. Attach the cording with hot glue around the edge of the cross-stitched piece. Now, it’s complete!
Overall, these are the steps I took to create a beautiful finished project.
Job well done and explained. Looking forward to review your next project. Can’t wait to see easy that will be.
Thanks so much! I hope the next project will be easy too LOL
Happy Holidays
This turned out so cute!
Thanks so much Jess! 🙂 Happy Holidays
Love this project and a great way to display it. Thank you for sharing the steps!
Thanks so much Lisa! I am glad the project worked out. I hope to continue to step out and try new ways of finishing. Happy Holidays 🙂
Your blogs have a relaxing and therapeutic effect on me. I enjoy seeing the beautiful projects you create and your videos are soothing. Your talent and skill are inspiring. Thanks so much for sharing!
Thanks so much Myra for taking the time to check out my blog. I am so glad it helps you to relax. 🙂 Looking forward to sharing more in 2024! Thanks again for all your support.