Natural dyeing has always interested me. Using plants to dye feels like a way to connect with nature. I was intimidated by dyeing wool, so I hoped a workshop would help me start. When that didn’t happen, a friend encouraged me to try it on my own. So, I did and decided to share my journey with you. I researched natural dyeing at my library and found great resources like A Garden to Dye for by Chris McLaughlin and Natural Kitchen Dyes by Alicia Hall. These books gave me the basic information I needed, and I chose rhubarb leaves for my first dyeing project since they were easy to find. Here are the steps I took to dye 100% wool worsted weight yarn with rhubarb leaves.
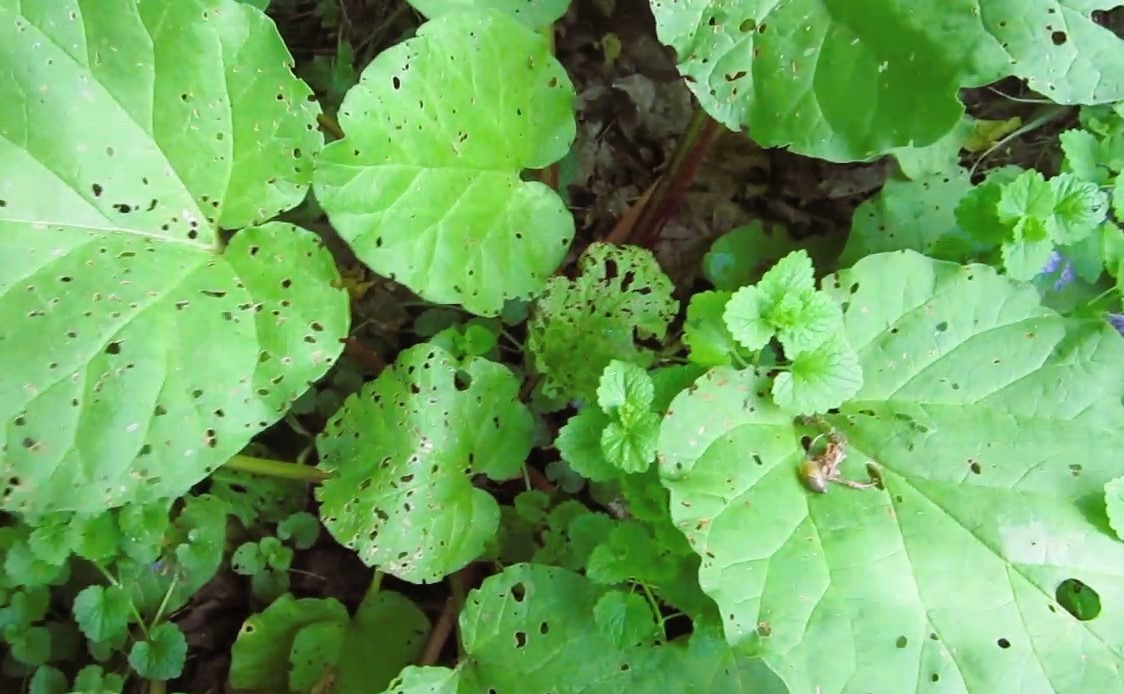
Step #1- Harvest Rhubarb leaves
I was eager to start natural dyeing right away, so I looked for an abundant plant to use. Rhubarb was in peak growth, and while I’m not a gardener and plants tend to wilt around me, my friend had some rhubarb in her garden. She gladly shared some with me. My research showed that fresh rhubarb leaves were best for dyeing, so I quickly cut them into smaller pieces. To achieve a good color saturation, I needed a 1:1 ratio of fresh leaves to the weight of dry fiber (WOF). The expected color from rhubarb leaves is mustard yellow if the water’s pH is neutral (pH 7). While my resources explained modifying colors by reducing or increasing pH values, I focused on mastering the basics first.
I chopped up the leftover rhubarb roots and stored them in the freezer for future use. Rhubarb leaves can act as a mordant, which helps the color adhere to the fiber, but I used them solely for their color. To ensure a deeper mustard yellow, I decided on a 2:1 ratio. My wool fiber weighed 114 grams, and the rhubarb leaves weighed 192 grams, which was close enough for me since I rarely measure exactly.
Step 2: Preparing the dyebath
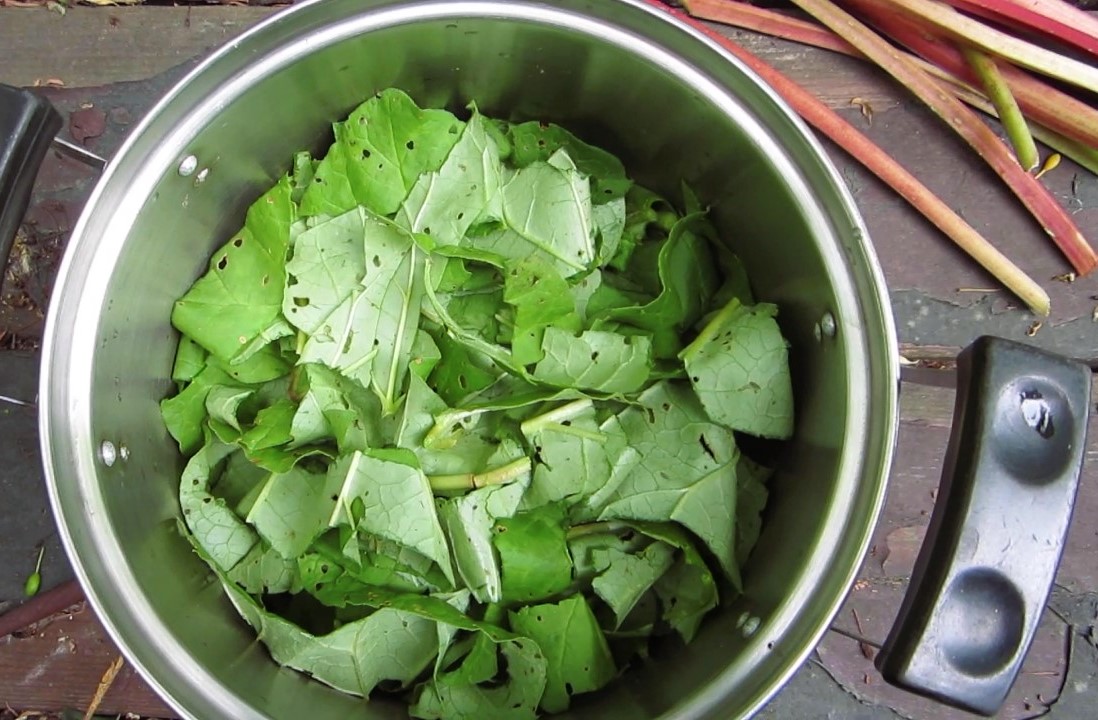
I used a stainless steel pot with a lid, dedicated solely to dyeing, as rhubarb leaves contain poisonous oxalic acid. The pot was large enough to hold the chopped leaves and enough water to cover them. I heated the pot until the dyebath gently boiled, then reduced the heat to let it simmer for an hour. I kept the lid on during this time and ensured proper ventilation by keeping the windows open.
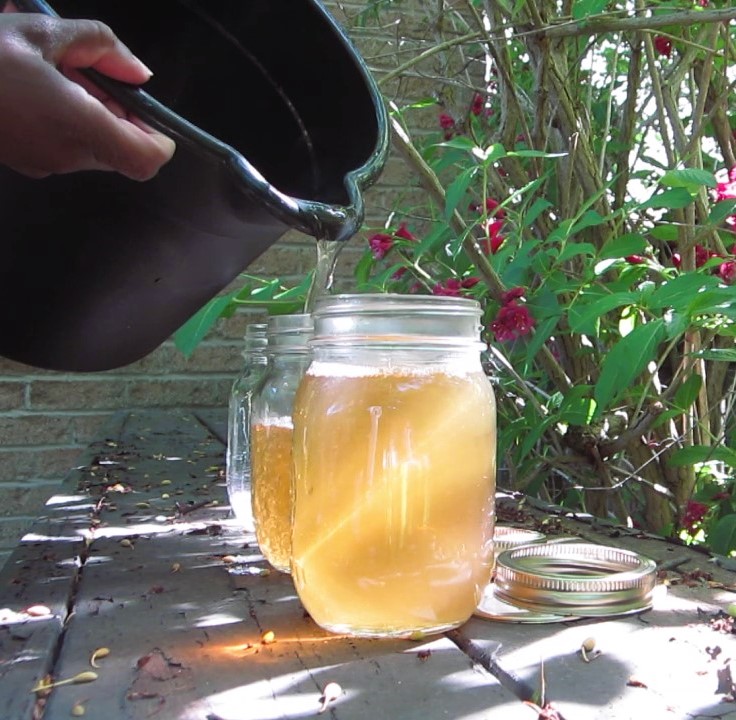
After an hour, I removed the pot from the stove and set it aside. Though this wasn’t my original plan, I ended up leaving it for two days due to a busy schedule. This extra time allowed more dye to be extracted from the leaves, turning the dyebath from a golden yellow to a dark mustard yellow.
I strained the dyebath using a metal sieve and poured the liquid into mason jars for storage in the fridge. The total volume of the dyebath was 2.854 liters.
chopped rhubarb leaves for natural dyeing
pouring finished rhubarb leaves dyebath for natural dyeing
Step # 3: Preparing the wool for dyeing
It is recommended to scour your wool first to remove any substances that might prevent the dye from adhering properly. Although my wool yarn was relatively clean, I still used a gentle wool wash (Eucalan) and let it soak for 20 minutes before rinsing it with cool water. Then, I prepared a lukewarm water bath and let the yarn soak for at least an hour before dyeing, as wet yarn absorbs dye better.
Step # 4: Dyeing the wool in the rhubarb leaves dyebath
I poured all of the dyebath solution and the pre-soaked wool yarn into a stainless steel pot and covered it with a lid. I brought it to a gentle boil, then reduced the heat and let it simmer for an hour. During this time, I gently pushed the yarn deeper into the dyebath only twice to avoid felting it. After an hour, I removed the pot from the burner and let it cool before extracting the yarn. At first glance, the yarn had completely taken up the mustard yellow color.
Step #5: Rinsing and Finishing the natural dyed yarn
Rinsing the yarn was the most nerve-wrecking part. I rinsed the yarn using water at the same temperature it was resting in until the water ran clear. I was anxious to see if the deep mustard color would stay or fade to a pale yellow. To my surprise, most of the deep mustard color remained, and it didn’t take more than 10 minutes for the water to become clear. I decided to soak it in Eucalan for another 10 minutes and rinse it again. Only a small amount of dye ran off this time. After a final rinse, which took less than a couple of minutes, I hung the yarn to dry.
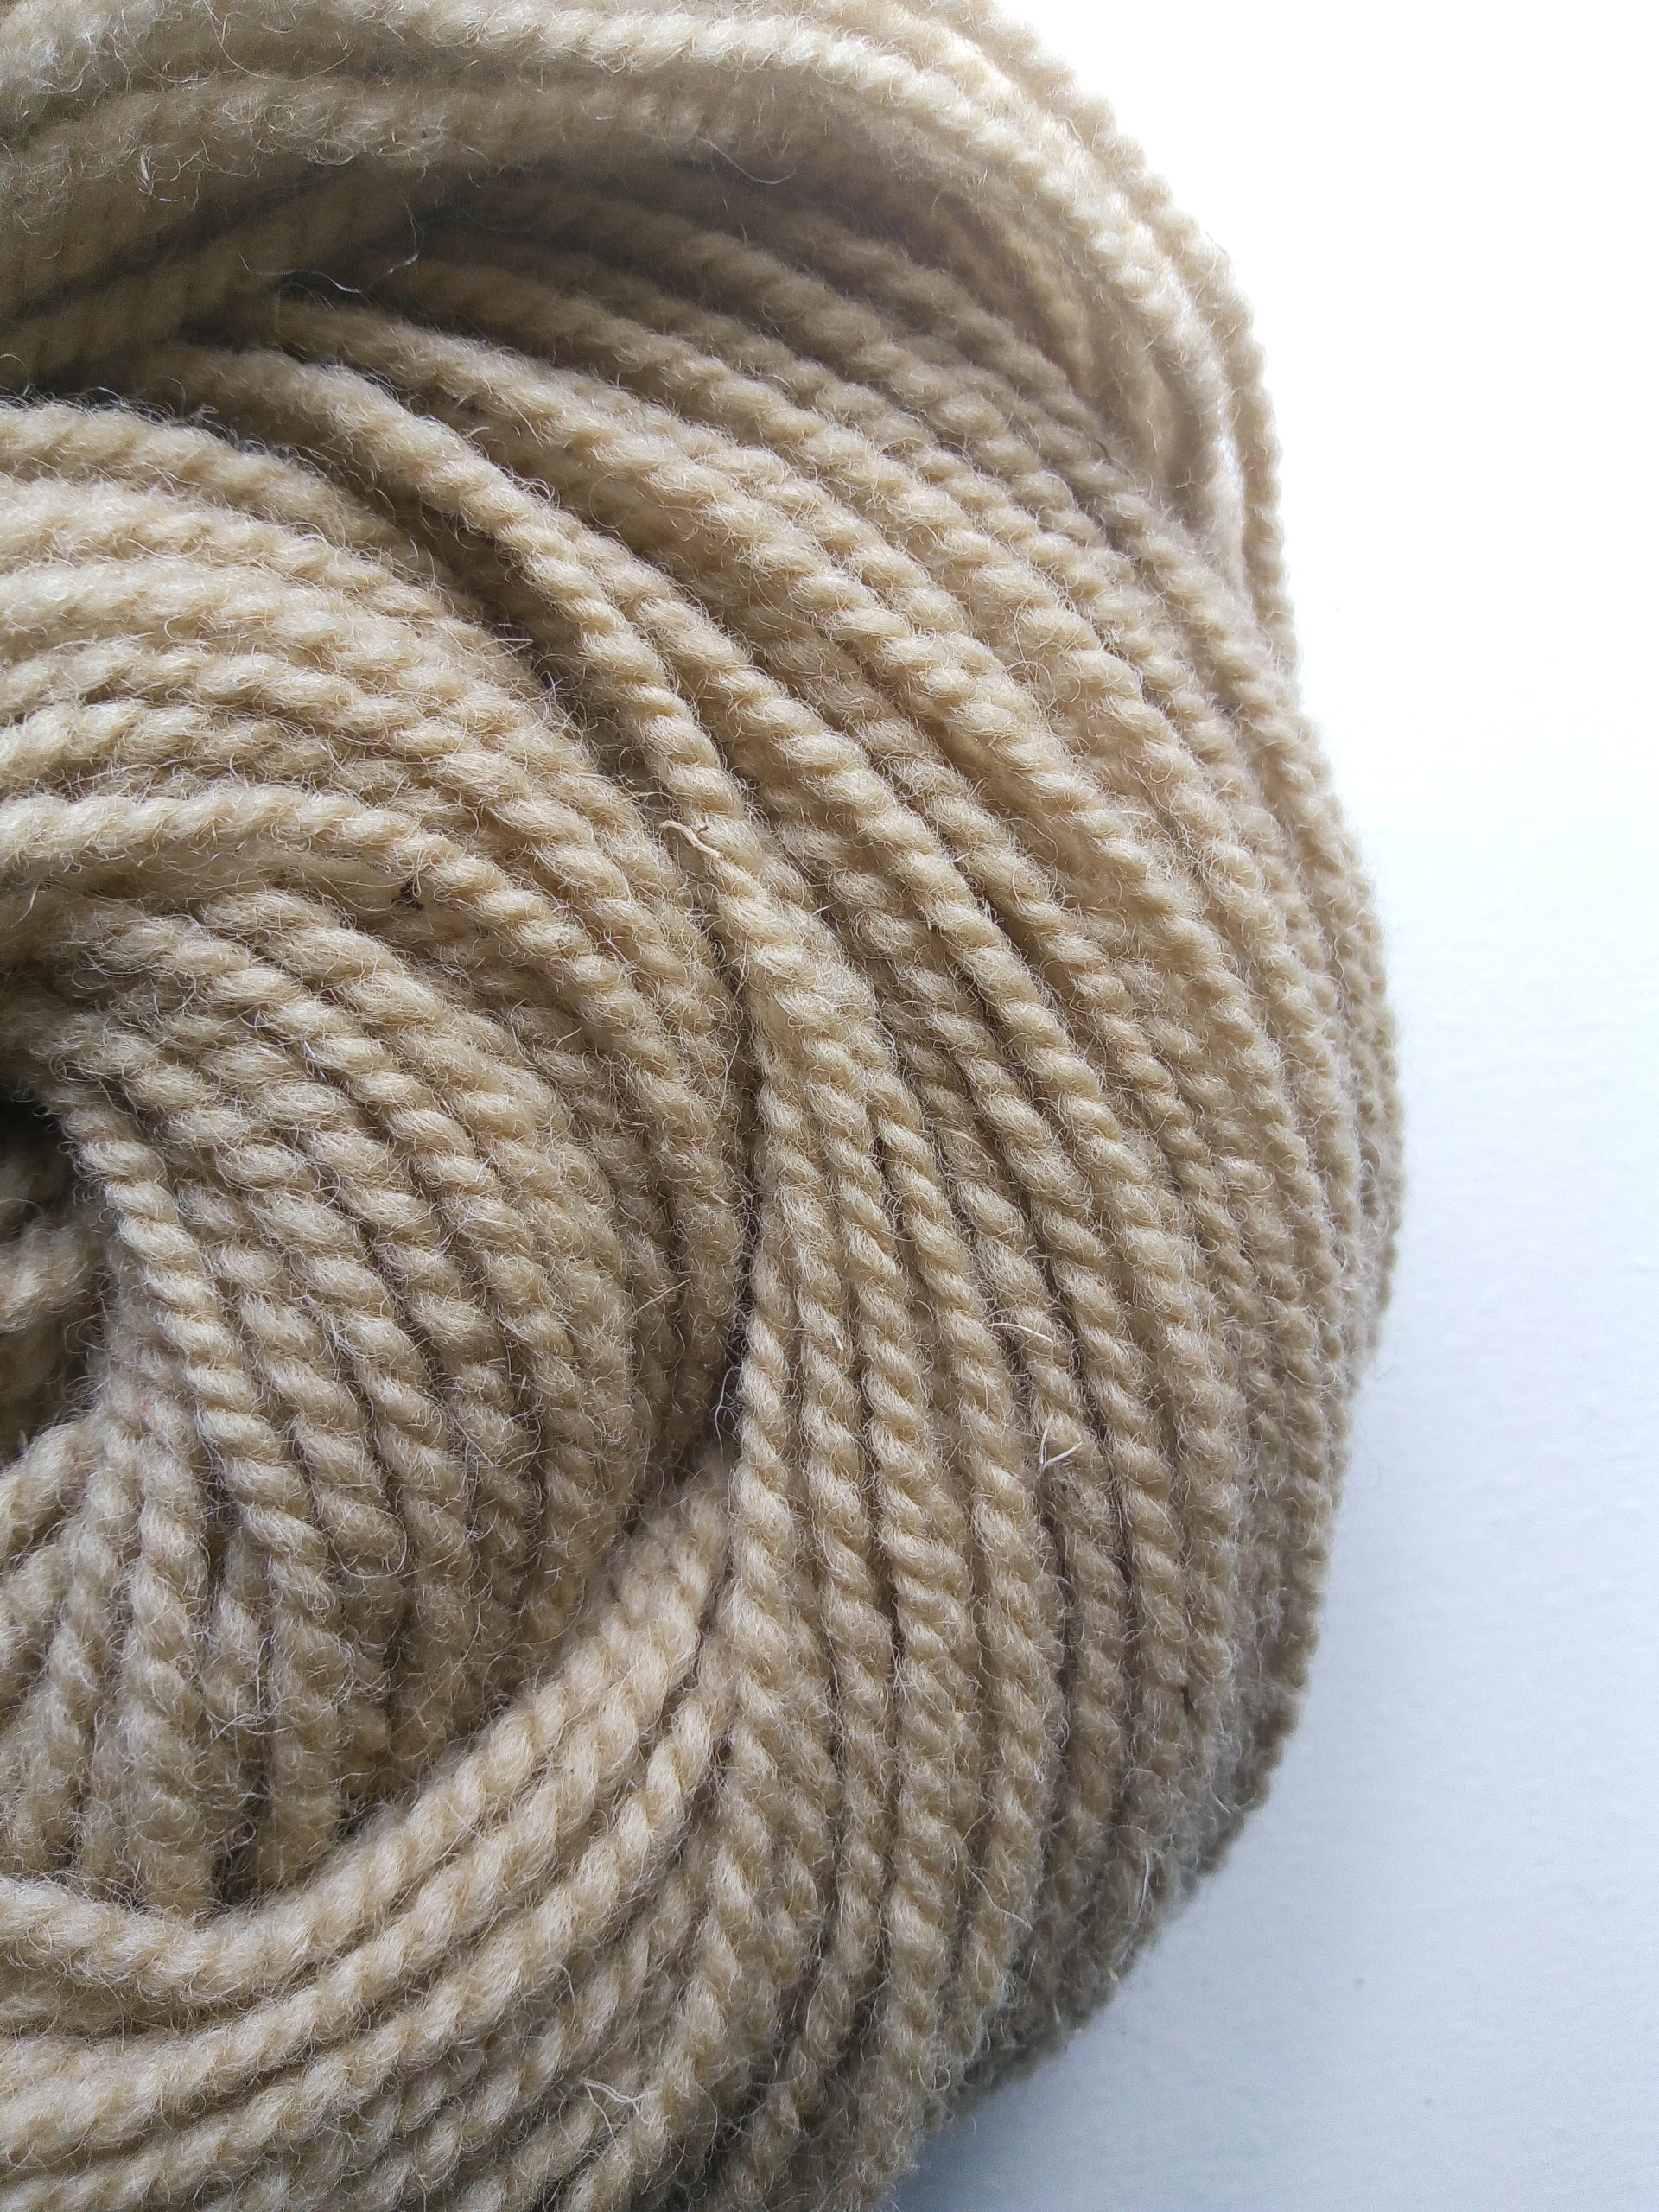
Ta! Da! Here is my first naturally dyed yarn and it turned out pretty good 😊
naturally dyed yarn with rhubarb leaves
Was I intimidated when I first started this process? Absolutely. Despite my fear of failing, I went for it and am very proud of the results. Even if it had gone wrong, it wouldn’t have been the end of the world. It took little time and resources, and most importantly, I had fun. I plan to continue sharing my natural dye journey, with future projects using onion skins, avocado skins and pits, and more. Have you tried dyeing your yarn or fabric before? Feel free to comment below.
Thank you for your comment! I did freeze the rhubarb roots but not the leaves. In this post I used fresh leaves but I plan to try dyeing the wool with rhubarb roots in the near future. My past experience with using frozen material was only with avocado pits and skin. In that case, I did not get the salmon pink colour that I expected. I am writing up a post which I hope to post soon about my experience. Have you tried dyeing with rhubarb before?
Have you tried freezing your rhubarb and then using it to dye? What did you find different or what do you think would be the difference?
Thank you for your comment! I did freeze the rhubarb roots but not the leaves. In this post I used fresh leaves but I plan to try dyeing the wool with rhubarb roots in the near future. My past experience with using frozen material was only with avocado pits and skin. In that case, I did not get the salmon pink colour that I expected. I am writing up a post which I hope to post soon about my experience. Have you tried dyeing with rhubarb before?